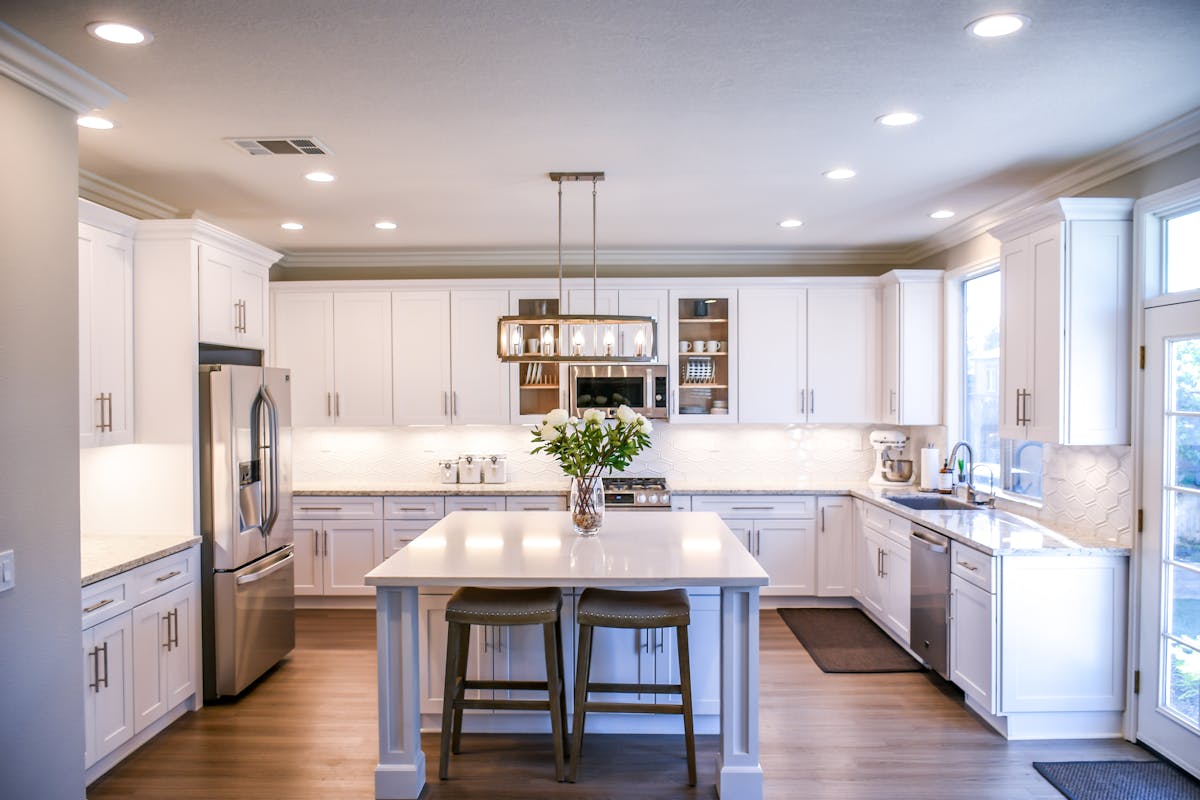
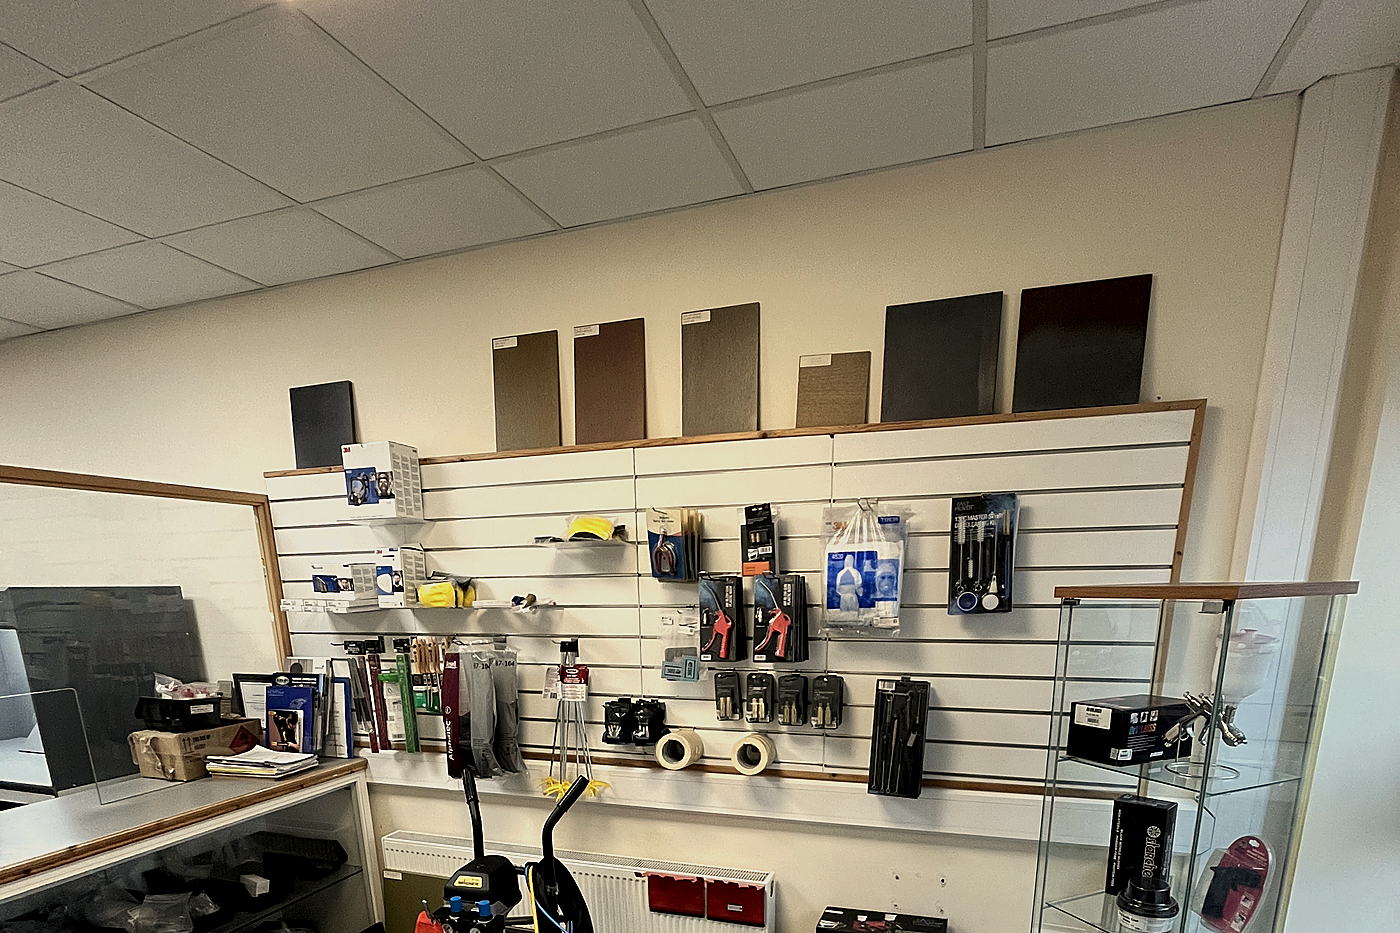
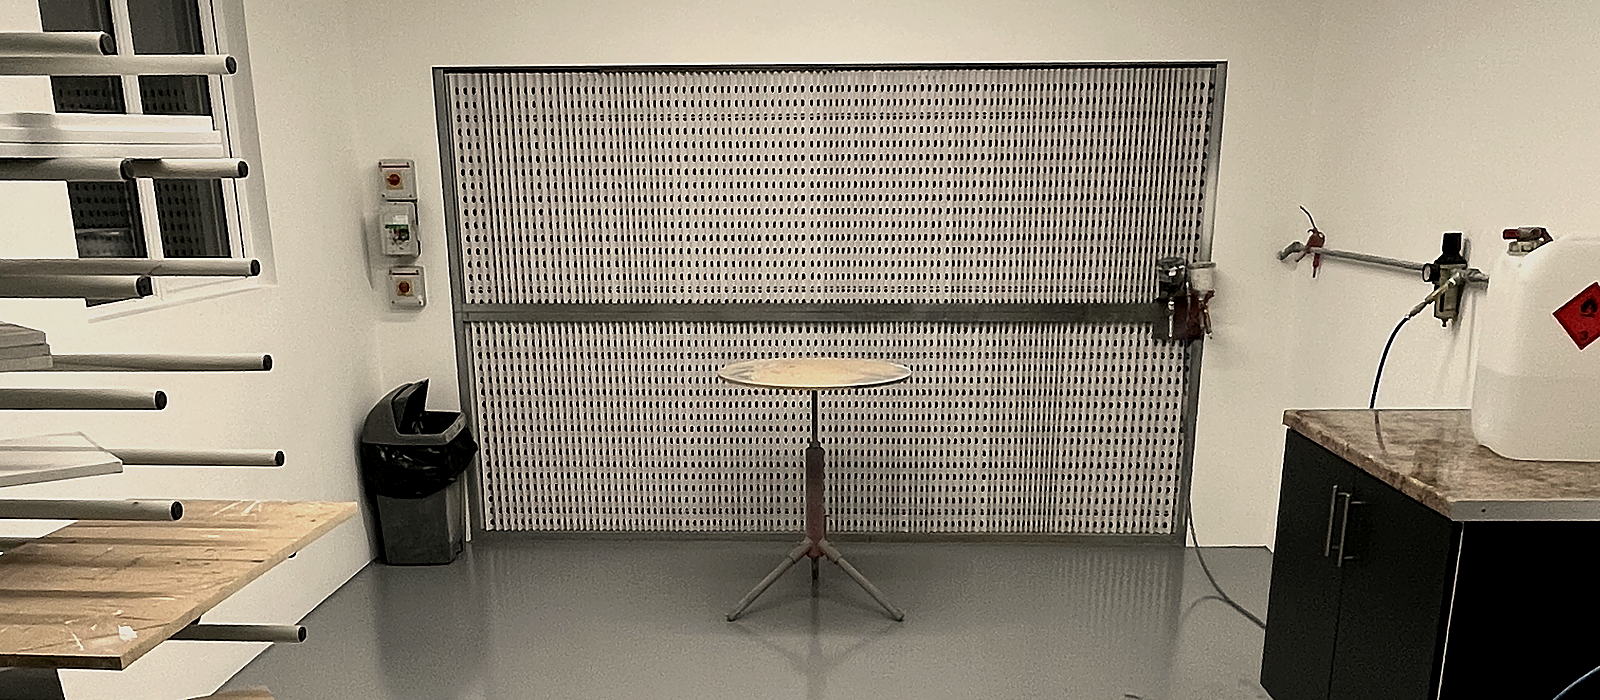
Re-spraying a kitchen is not the same job as spraying new doors. New MDF is clean, consistent and predictable. A kitchen that has been in a house for ten years has grease in the grain, polish on the doors, chips on the edges and a finish nobody can identify with certainty. The new coating will only be as good as its bond to that old surface.
This is the process we see working for re-spray companies we supply around the country.
1. Survey and test before you quote
Before you price the job, find out what you are spraying over.
- Is the old finish sound? Lifting, flaking or heavily cracked lacquer needs to come off, not be sprayed over.
- What is the substrate? Lacquered MDF, solid timber and veneer each need a different approach. Vinyl or foil-wrapped doors are a separate conversation; call us before quoting them.
- Test adhesion on a hidden area. Degrease and key a patch on the back of a door, apply the primer you plan to use, let it cure, then check that it does not lift with a strip of tape after cross-scoring it. If it fails there, it will fail on the front.
2. Remove, label and protect
Take doors and drawer fronts off, label each one with its position and bag the hinges and handles with it. Most re-spray companies spray doors in the workshop booth, where dust, temperature and extraction are under control, and spray carcasses and end panels on site.
On-site spraying in someone’s home needs careful masking, ventilation and the PPE on the product safety data sheet. Two-pack lacquers, and especially isocyanate PU, need proper controls. Make sure the people on site have the right training and that the household is kept out of the room while you spray and while it cures.
3. Degrease before you sand
This is the step that decides most kitchen re-sprays. Years of cooking fat, cleaning sprays and silicone-based polish sit on the surface. If you sand first, you push that contamination into the scratches, and the new coating pulls away from it. That is where fisheyes and craters come from.
Degrease with a suitable cleaner first, paying attention to the areas around the hob, the handles and the bottom of the wall units. Wipe off with clean cloths, changing them often, and let the surface dry.
4. Repair and key
Fill chips and dents and allow the filler to cure fully. Where a repair or a replacement panel exposes bare MDF, seal the cut edges as described in priming MDF for a painted finish. Then sand to give the primer a key. You are not trying to remove the old finish, only to dull it evenly so the primer can bond. Pay attention to edges and profiles, where the sanding pad tends to skip.
Remove all the dust before priming.
5. Prime with the system you will finish in
Use a primer from the same system as your topcoat. If you are finishing in acid-cured lacquer, use the acid-cured white primer. If you are finishing in PU, use the PU primer. Mixing a primer from one system with a topcoat from another is one of the most common causes of failure we see.
For a busy family kitchen, a two-pack system is the usual specification because it stands up to steam and cleaning products. Our guide to acid-cured, pre-catalysed and PU lacquer covers the differences.
6. Match the colour to what is staying
Re-spray customers rarely want a colour from a fan deck. They want the new doors to match the end panel that is not being sprayed, or the island that was done last year. Bring us a door, a drawer front or a chip and we will mix the colour into the system you are spraying, then store the formula.
On white base topcoats, a 5 litre and a 1 litre tin tinted to the same colour may differ slightly. Order the full quantity for the job in one pack size, and keep a little back for touch-ups. Our guide to colour matching that still matches on the second batch explains why.
7. Topcoat and sheen
Spray the topcoat at the sheen the customer has approved on a sample, not the one they described. A 20% satin and a 30% satin look different on a wall of doors. Our guide to choosing sheen shows the scale.
Follow the flash and recoat times on the data sheet, especially on the second coat. On damp days, use the anti-bloom thinner for the system so a clear or dark topcoat does not dry with a haze; see why lacquer blooms in damp weather. Rushing the topcoat onto a primer that has not cured is a common cause of sinkage and poor adhesion.
8. Hand over properly
Give the customer the curing time before heavy cleaning and tell them what to clean with. Two-pack films keep hardening for some days after they feel dry. A kitchen that is scrubbed with a strong cleaner on day two can mark in a way it would not after a fortnight.
Order the system, not just the colour
When you ask for a quote, give us the substrate, the system you spray, the colour reference and the sheen. We will send the primer, topcoat, catalyst and thinner together so nothing is missing on the morning you start.